Using Lolly
A practical guide to actually using the app - opening a tool, working the canvas, exporting, saving, and sharing. Everything here runs on your device: no account, no upload, no internet required after the first load.
New here? The Quickstart gets you making things in minutes, and Lolly for Operators covers installing/deploying the app; this page is about driving it once it's open.
Opening a tool
The home screen is the gallery - every tool, grouped by category. Click a card to open the tool; if you've worked on it before, a Continue button resumes your most recent session. Use the search box to filter by name.

Each tool is a split view: controls on one side, a live preview (the canvas) on the other. Change any control and the preview updates instantly.
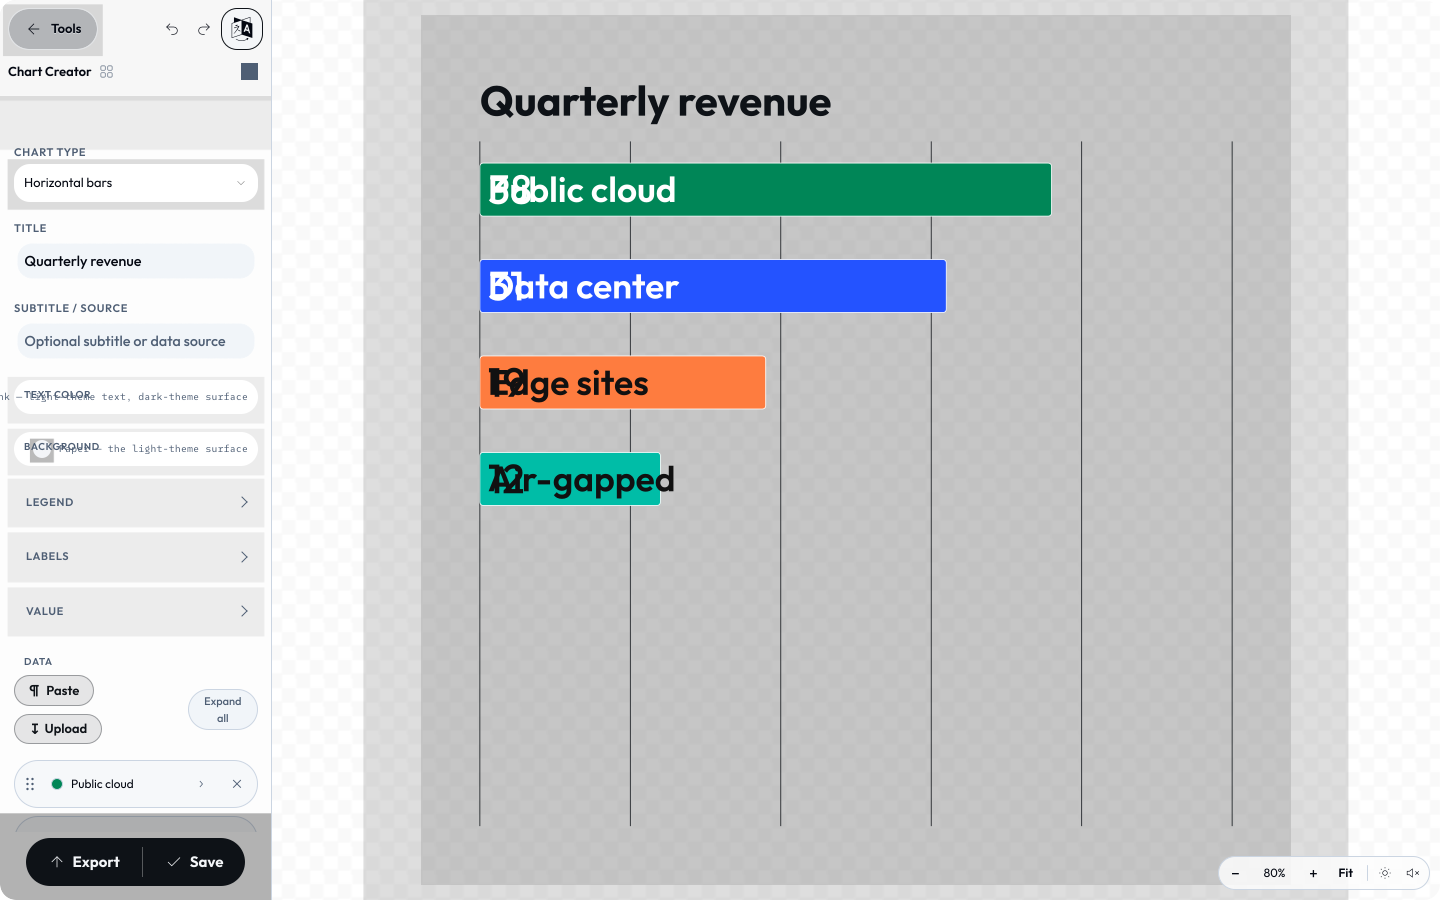
A few tools (like Layout Studio) instead open as a free canvas - a chromeless, direct-manipulation surface where you drag, resize, rotate and snap boxes of text, shapes and images, and double-click to edit text in place. It exports through the same render path as every other tool, so the canvas is the file. See The free canvas below.
The canvas (preview)
The preview always shows exactly what will export.
Desktop
- Zoom: Cmd/Ctrl-scroll, or pinch on a trackpad - zoom centres on your pointer.
- Pan: hold Space and drag, or drag with the middle mouse button. (Plain clicks stay free for clicking parts of the design.)
- Keyboard:
0= fit to window ·1= 100% ·+/−= zoom. - Zoom HUD: the small
− NN% + Fitcontrol in the corner. Click the percentage to toggle Fit ↔ 100%.
Touch
- Pinch to zoom, drag to pan, double-tap to reset to fit.
Click to jump to a control: click any element in the design and the matching sidebar input gets focus and scrolls into view - for a repeating row group it folds open the exact row you clicked, so editing what you see is one tap away.
A dimension change always snaps the view back to a clean fit.
The free canvas (Layout Studio)
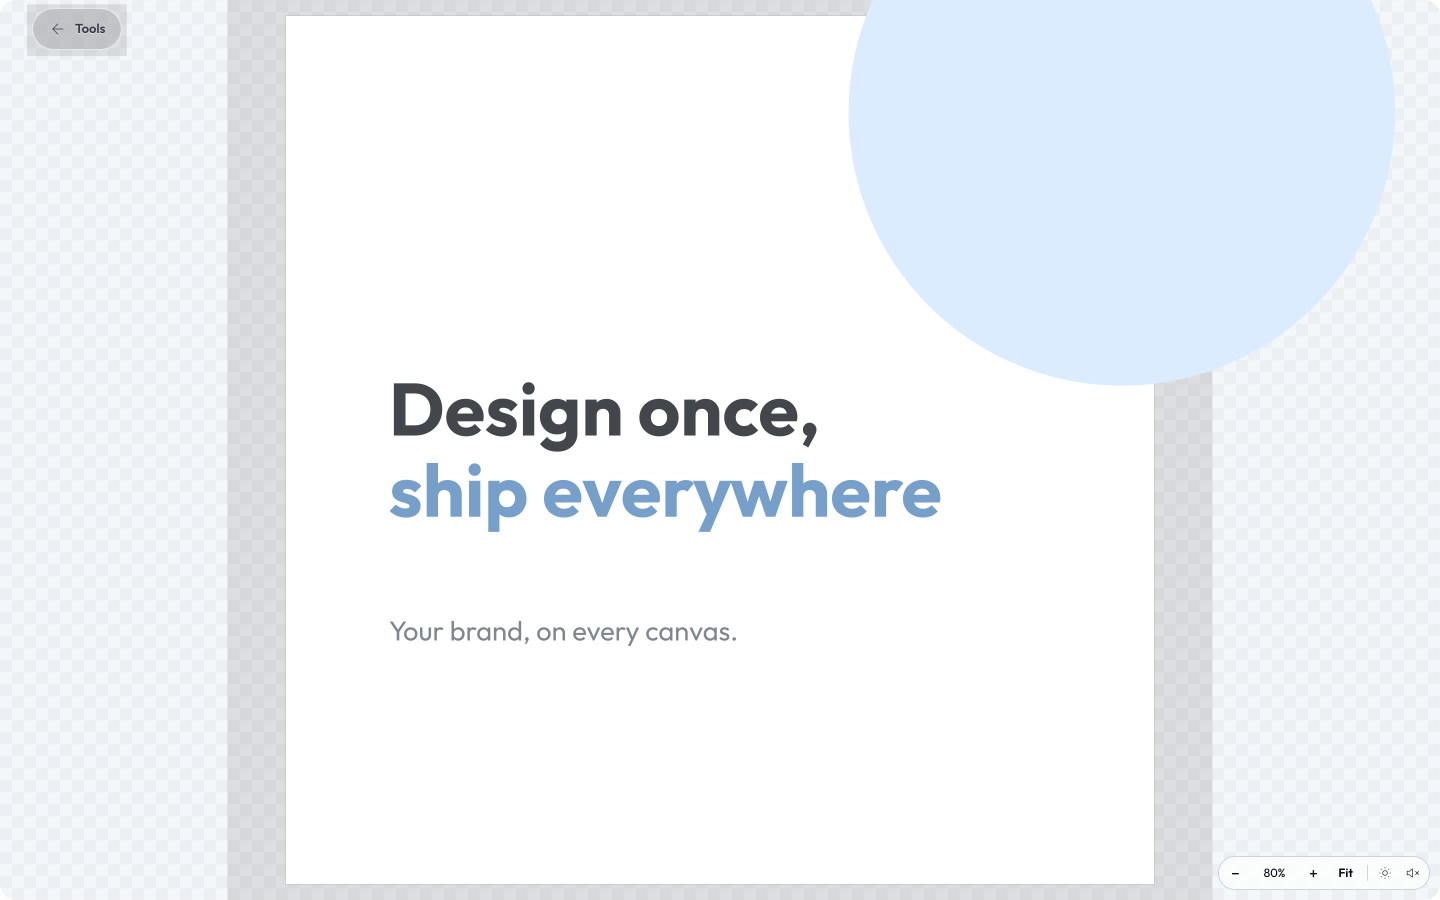
Free-canvas tools add a working surface around the artboard, like a designer's pasteboard:
- Off-canvas staging. Drag a box past the frame edge and it stays fully visible and selectable - park elements off to the side while you arrange the composition, then drag them back in. Everything outside the frame is gently faded so the export area always reads at a glance, and the frame keeps its shadow to mark exactly where the file begins.
- Only the frame exports. The exported file is bounded by the artboard - anything left outside (or the part of a box hanging over the edge) is simply cropped out of the output, in raster and vector formats alike.
- Zoom out past Fit (down to 20%) to see the whole pasteboard when you've staged things far outside the frame.
- Resizable artboard. Changing the export dimensions resizes the frame in place; boxes keep their positions, so you can reframe a layout around existing content.
On a phone
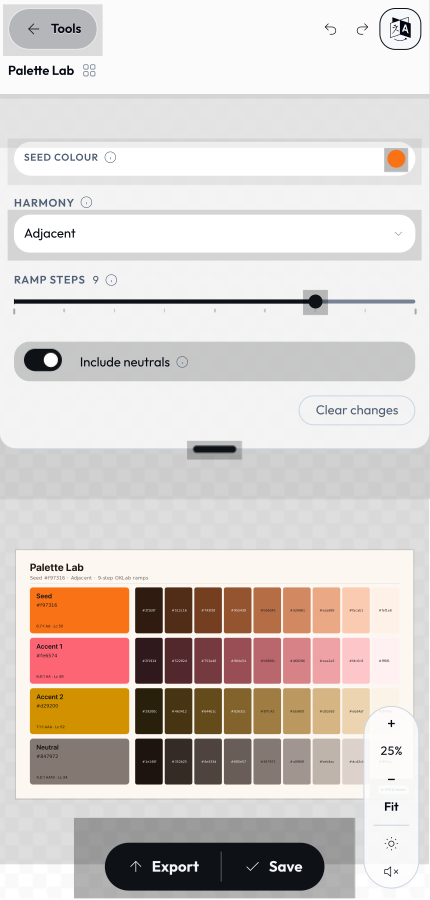
On narrow screens the layout reflows to one column:
- The controls become a sheet at the top with a drag grip on its lower edge. Drag the grip to resize it - it snaps to peek / half / full - or tap the grip to toggle collapsed ↔ expanded. The preview fills the space below and stays visible while you edit.
- A floating Render button opens the Export sheet - all the format, size, copy, save, and download controls in one place. Dismiss it by tapping the backdrop.
Controls (inputs)
Tools expose only the inputs that are meant to vary - everything else (colours, layout, typography, logic) is locked in by the tool author, so whatever you make meets the rules the author set. Inputs include text, sliders, colour pickers, dropdowns, dates, image pickers, and repeating row groups. Some are grouped under collapsible sections.
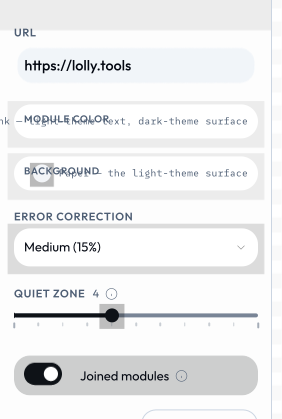
Reset: Clear changes returns every input to its defaults.
Your details & headshot
Profile (top-right of the gallery) holds your name, contact details, and an optional headshot. Tools that ask for those fields pre-fill them automatically - set them once and your email signature, lockups, and badges fill themselves in. You can still override any field per session. Opt in with Use my details so a tool may read them.
Your headshot and details live only on this device. A profile can be more than just you - a team or a role you step into now and then. See Profiles for the full picture, including keeping more than one.
Saving & continuing
Click Save to store the current inputs as a session for that tool. You can keep multiple named sessions per tool; each tool's Continue button reopens your most recent, and the history button (top-right, beside your profile) lists every saved session across all tools. Sessions are device-local. To organise them, open Projects (below).
Projects
Projects - open it from the Projects tab beside Tools, or from Profile → Storage → Organise in Projects - is a home for everything you've saved, and it works like a file manager:
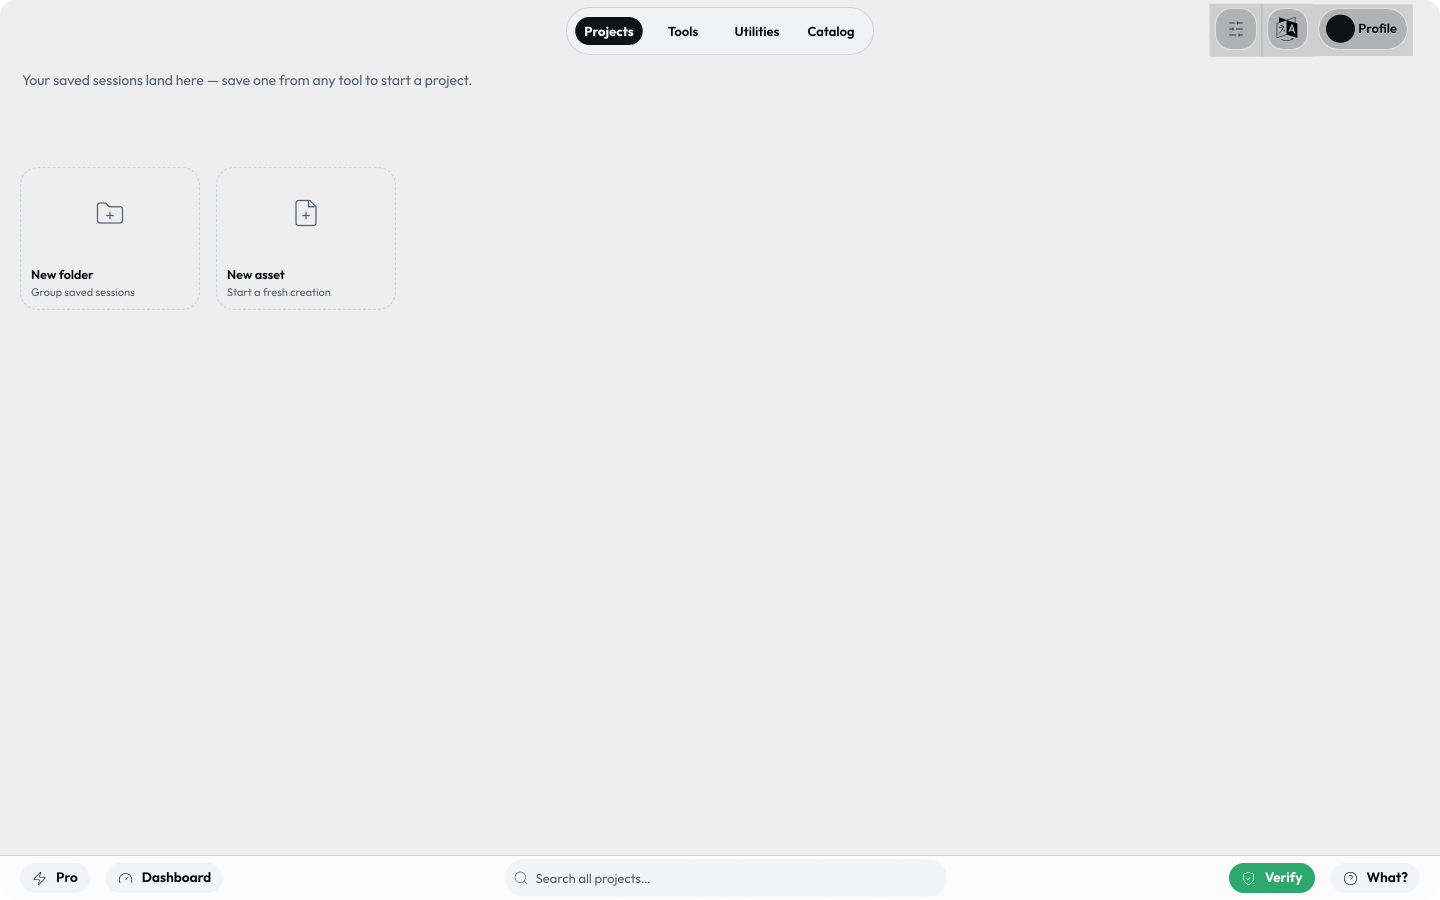
- Folders that nest. Group saved sessions into folders, and folders inside folders, as deep as you like. Create a folder, rename it, or drag a tile onto another folder to move it; a breadcrumb walks you back up. An always-present Uncategorised folder holds anything not yet filed.
- File new work straight in. Inside a folder, + New tool opens a tool and files its first save into that folder automatically.
- Multi-select (desktop). Tick a tile's checkbox, drag a selection box across empty canvas, or Shift/Cmd-click; right-click a tile for its context menu. Then act on the whole selection at once.
- Render a whole folder or selection. Render folder exports every saved session in a folder - including its sub-folders - as one nested
.zip. Render selection does the same for any multi-selection, and a single session renders straight to its own file. No Batch/Pro needed. - Share a saved session. Right-click a session → Share link to copy a link that reopens it with the exact same inputs (the full Share dialog - see below).
Sharing a link
Every input is captured in the page URL, so a link is the design. Use Share in the export controls - or Share link on any saved session in Projects - to open the Share dialog: a ready-to-copy link plus toggles for encrypting the link and what happens when it's opened (fullscreen, the export panel expanded, download-on-open with &export, or copy-to-clipboard with ©).
A big design would make a long URL, so the dialog also offers a Shortest link that packs the whole state into a compact token - the readable form is always there too. Paste it to a colleague, bookmark it, or commit it. (Full details: URL Mode.)
Images you uploaded from your device are not included in a shared link - they only exist on your machine.
Live camera (motion-reactive tools)
The photo Filters - Halftone, Scanline, Posterize, Duotone - show a Go live button where a camera is available. Turn it on and the effect tracks your webcam frame by frame, so it reacts to movement; you can record the result to GIF, WebM or MP4. Frames are read and processed on your device and never leave it, and the camera is released the moment you stop or leave the tool. (Any image picker also has Take a photo to grab a single frame as an on-device image.)
My images
When a tool lets you add an image from your device, it's downscaled, stripped of EXIF/GPS, and saved to your personal My images library (under Profile → Storage). Reuse it across any tool. The library is capped and entirely local - manage or delete images there.
The Catalogue - your asset library
The Catalogue (#/c, or the Catalogue link in the menu) gathers everything your tools can draw on - brand logos, images, audio, and motion, grouped by kind - and it's where your own creative files live too. No server, no admin console, no pull request: it's all on your device.
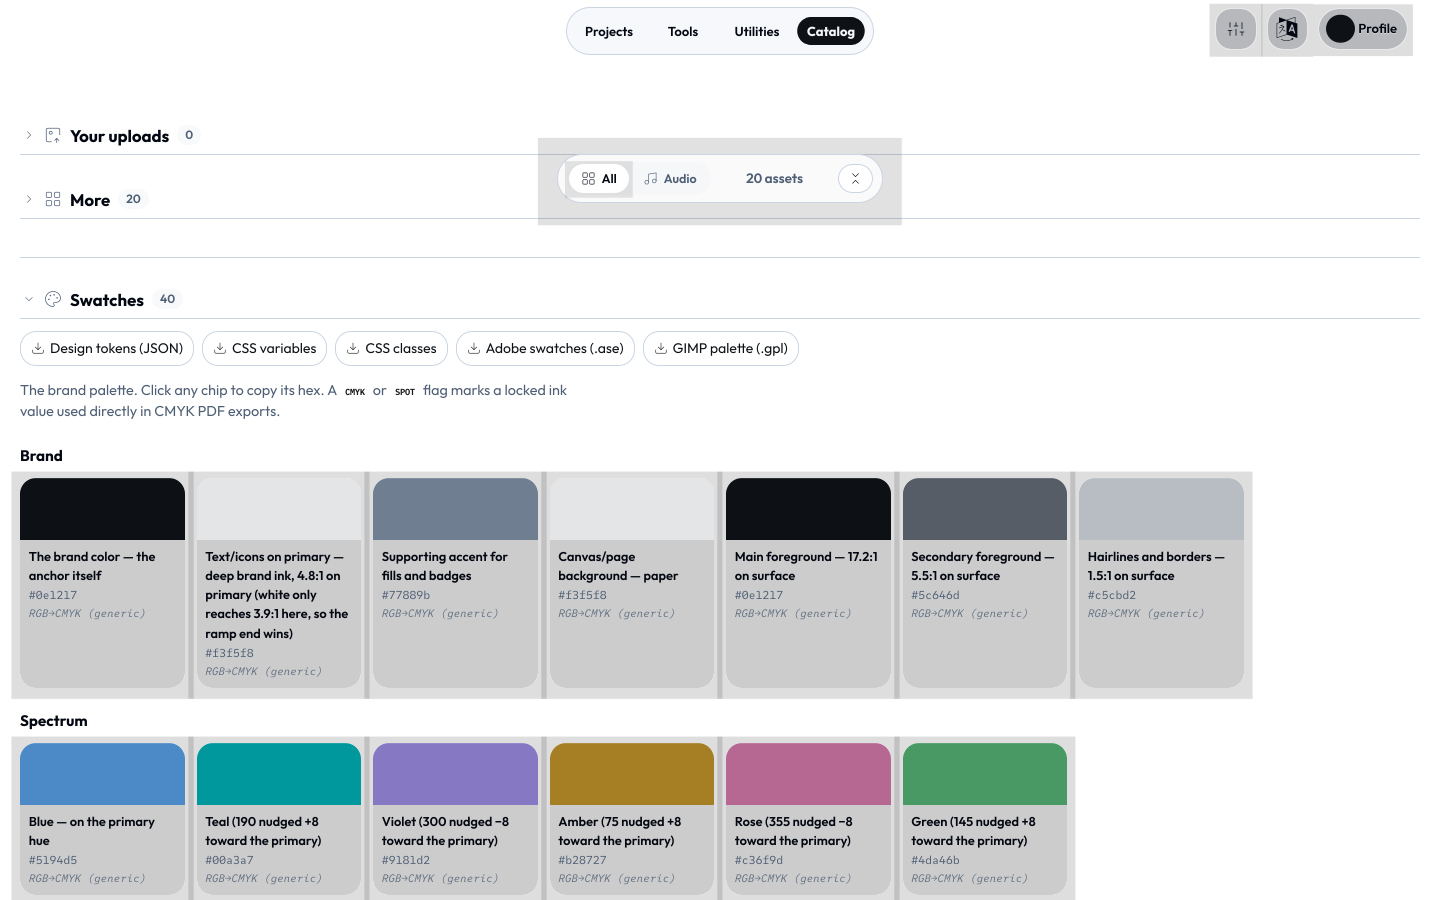
- Bring your files in. Drag any image, SVG, audio clip, video, Lottie, PDF or PowerPoint deck onto the upload area - or click to choose - and it lands in your catalogue instantly, ready in every tool's asset picker. A multi-page PDF or a
.pptxasks which pages or slides to keep - each becomes an SVG asset. Ingest as much as you like; it never leaves your device. - Favourite what you reach for. ★ an asset (or a brand swatch) and it pins to the top of every picker, so your go-to logo or colour is one click away.
- Tidy up. Recategorise an asset into a different group, hide a shared brand asset you don't use (with Show hidden to bring it back), or delete your own uploads outright.
Take your palette and fonts anywhere
The Catalogue's Swatches panel isn't just for reference - click a colour to copy it, or download the whole brand palette in the format your other tool speaks:
- Design tokens (JSON), CSS variables, or CSS classes - drop the brand straight into a stylesheet or a build;
- Adobe Swatch Exchange (.ase) - load it into Illustrator or Photoshop;
- GIMP palette (.gpl) - for GIMP or Inkscape.
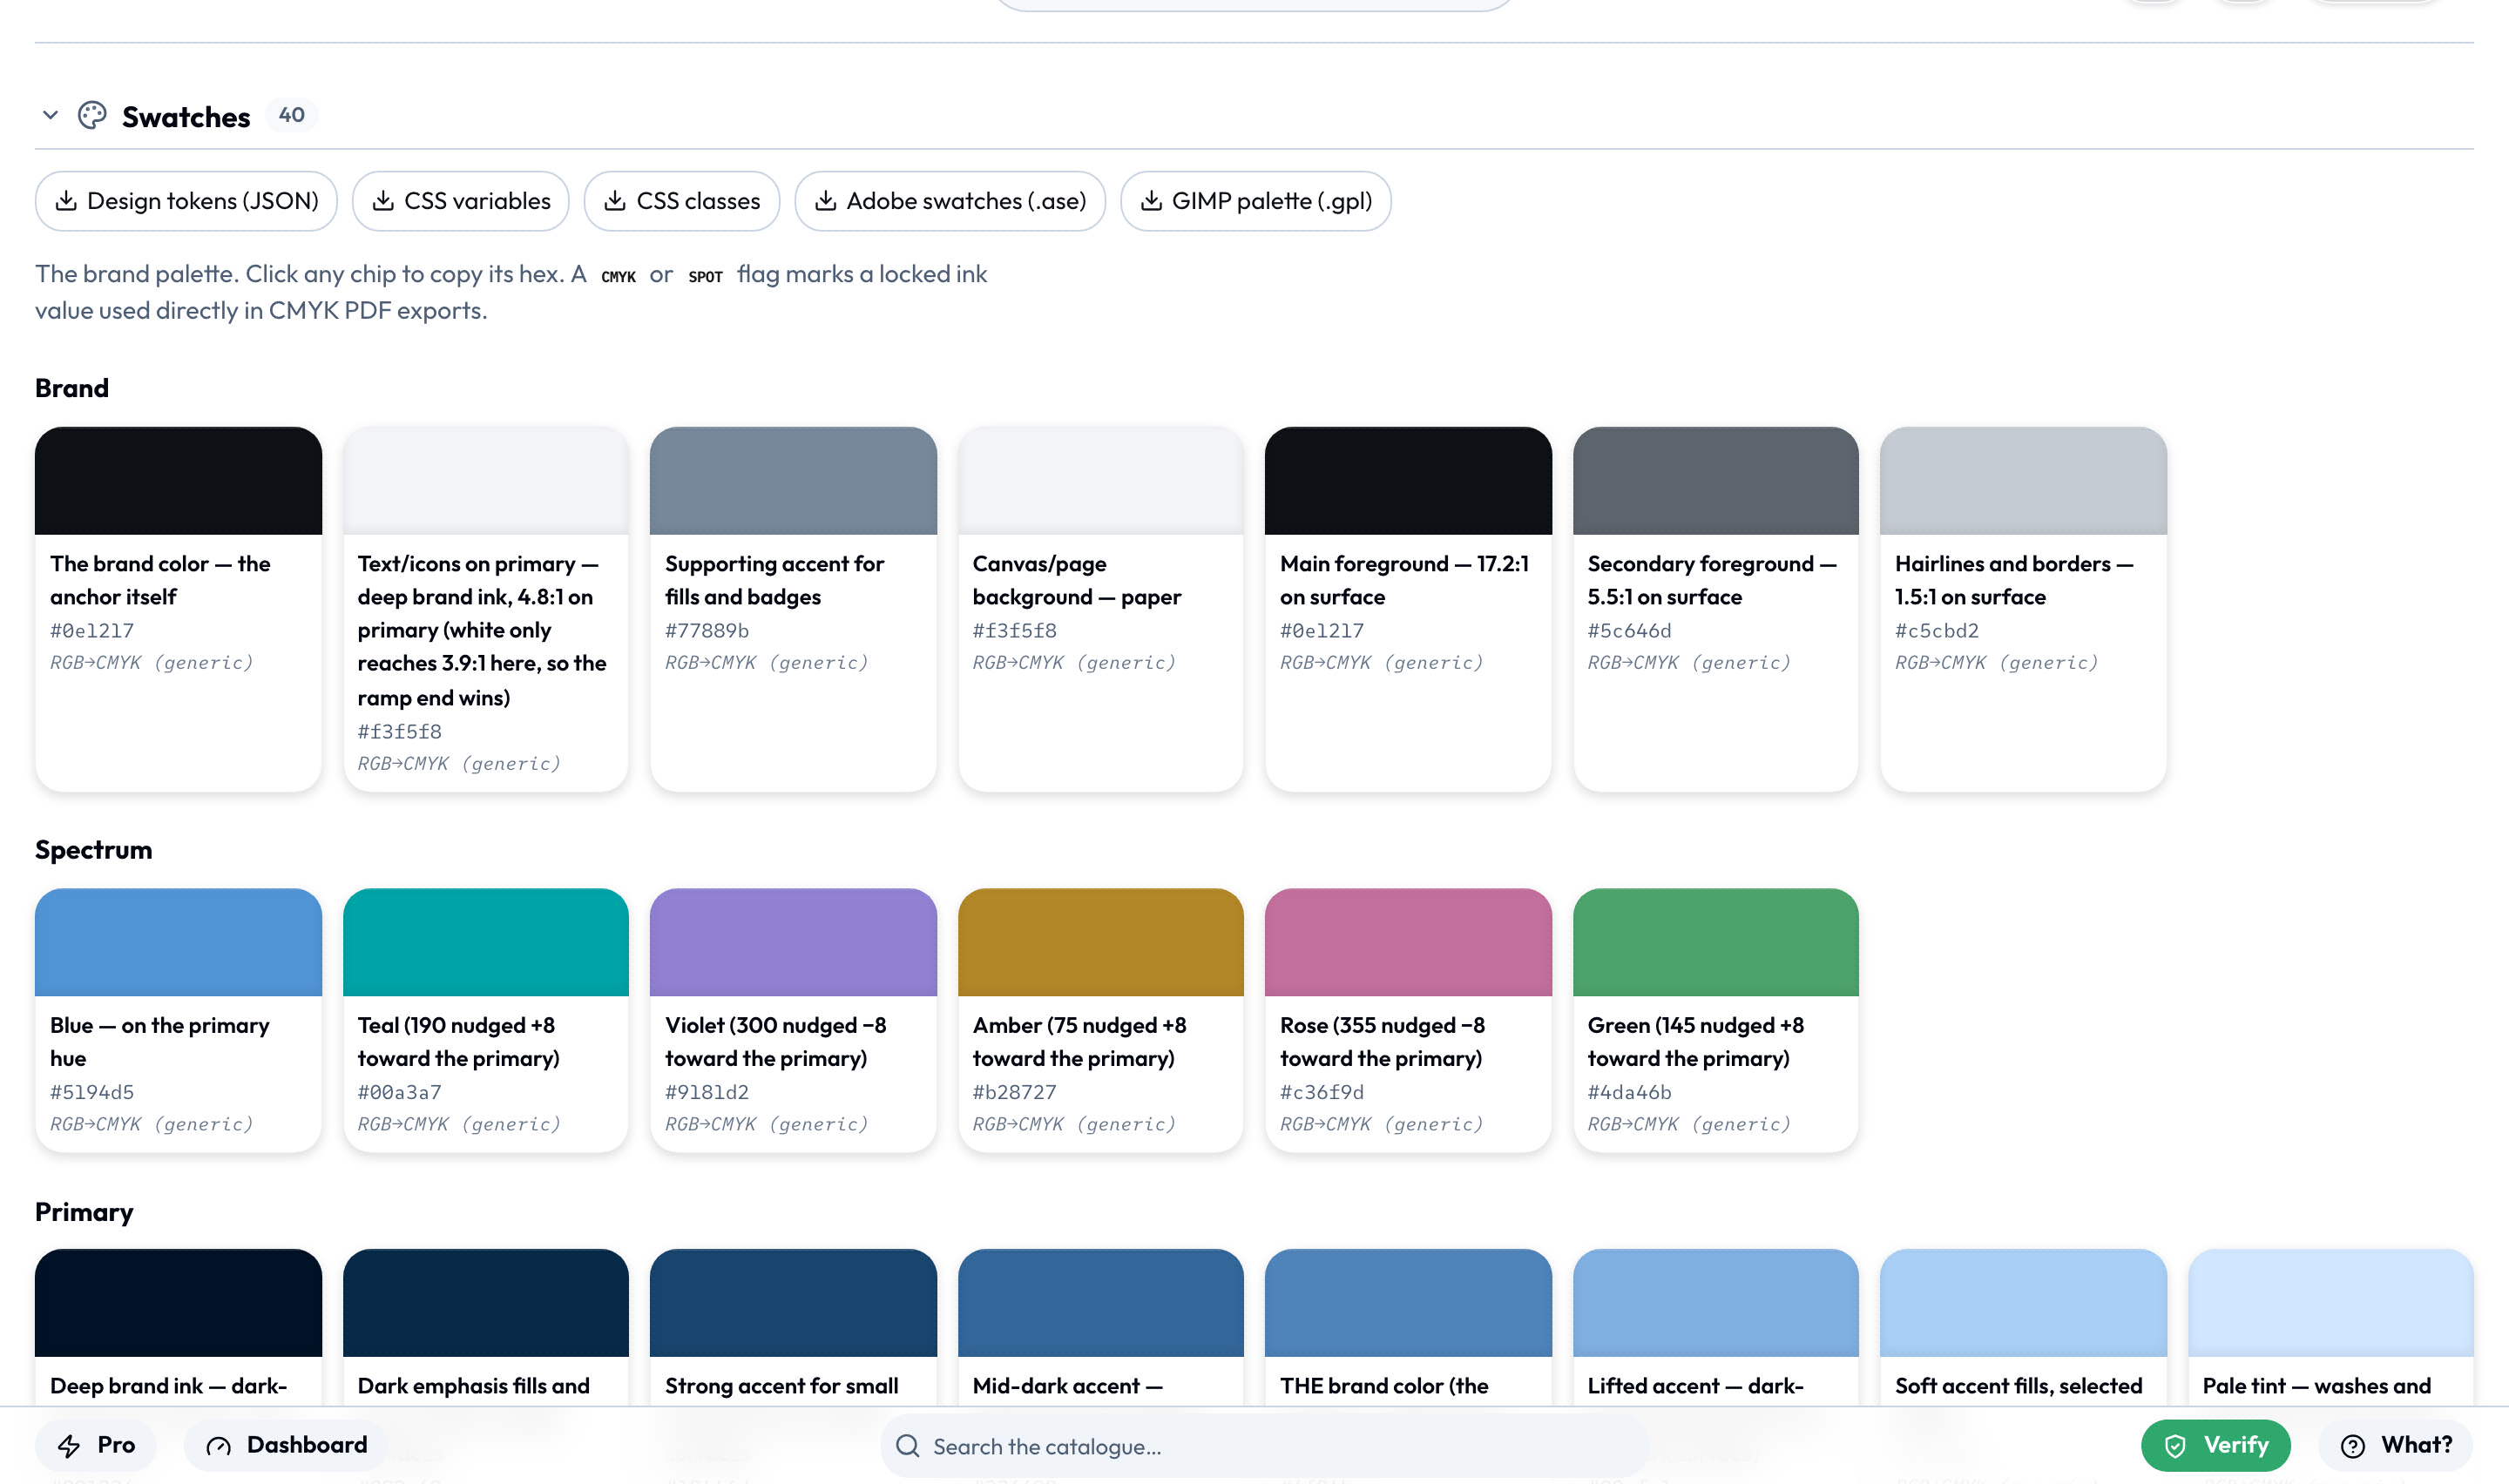
The Fonts panel lists your brand faces with a download beside each, to install locally or hand to a print shop. (The Brand Studio's Colours tab offers the same palette download.)
Assets are one half of the open, do-it-yourself path; the other is making your own tools - the free canvas (Layout Studio, described above) lets you build one visually, no code required.
Sound & accessibility
Lolly aims to be comfortable to use for everyone. The interface is keyboard-navigable, custom controls carry proper labels for screen readers, and every tool's live preview is exposed as a single labelled image describing what it's making.
A gentle layer of assistive sounds confirms what you do - arriving in the gallery, a valid vs. invalid Content Credentials check, closing a panel, switching a filter. It's on by default but always optional: toggle Sound off anywhere the switch appears (each view's options popover, or Profile), and the choice is remembered.
Beside that switch is Neurospicy Mode - an optional, calming background focus track that plays quietly while you work. Turning it on opens a small player dock in the bottom corner that follows you across the app; from it you can search and pick a track, skip forward and back, set the volume, and minimise or close it. The track list spans a few categories - procedural Lolly Sings tunes, ambient loops and beats, your own uploaded audio, and a handful of live internet radio stations (these need a connection; everything else plays offline). It's off by default and, like Sound, is remembered across sessions and devices. Turning Sound off mutes the focus track too.
Storage & privacy
Everything is stored in your browser's local database (IndexedDB): your profile, saved sessions, uploaded images, and a cache of downloaded catalog content. Profile → Storage shows usage and lets you:
- Clear cache - drop downloaded catalog content (re-syncs next load).
- Clear all my data - wipe profile, sessions, and images. Cannot be undone.
Nothing is transmitted anywhere. No telemetry, no cloud rendering.
Moving to another device
Because everything lives on your device, Profile → Storage → Move to another device lets you carry it all to a second install - no account, no cloud:
- Export my data downloads a single
LollyTools-<First>-<Last>-<YYYY-MM-DD>-<n>.zip(the name parts come from your profile and are dropped if unset;<n>is a per-day counter so same-day exports don't collide) containing your profile, every saved session (with its thumbnail), your uploaded images, and your preferences (theme, sidebar width, local activity stats). - Import data… on the other install reads that file back in. It merges: anything with the same name (your profile, a session slot, an image) is replaced by the imported copy; everything else on that device is kept. Saved sessions re-link to your imported images automatically.
The catalog cache isn't included - it re-downloads itself on the new device. The bundle is a plain zip (manifest.json + profile.json + sessions.json + assets.json + assets/blobs/… + prefs.json, format id lolly-backup), so it survives email, USB, or AirDrop intact and is the same format every shell reads. Each part is checksummed, so a file damaged in transit is caught on import rather than restored half-broken. (Full format spec: Data Transfer.)
Importing a design (Figma, Penpot, Illustrator, InDesign)
You can bring an existing design into Lolly and keep working on it: open Layout Studio, click Import a design in the canvas toolbar, and choose a Figma .fig or SVG, a Penpot .penpot, an Illustrator .ai / .pdf, or an InDesign .idml. Layers become editable boxes on the free canvas - text stays retypable, images land in My images, and type and colours conform to the brand globals - then the result saves, shares and renders like any other session. The parse happens entirely on your device. Full detail: Import a design.
Exporting
See Exporting & Formats for the full story - choosing a format, output size and print units, transparency, video, and copy/share. In short: pick a format, set the size if you need to, and Download (or Copy to the clipboard).
Batch (Pro) mode
For power users, Batch (linked from the gallery, gated behind the Pro feature flag, which defaults on) renders many variations at once - a grid where each row is a set of inputs, exported together. Ideal for localising a card into a dozen languages or generating every size variant in one pass. Fill rows by typing, pasting straight from a spreadsheet, or importing a CSV (you can export one back too), and set per-row format, size, and output filename. Save a whole grid as a named batch session that reopens from the gallery, and download every row as a single .zip.

Batch is for generating many variants of one template at once. To re-render sessions you've already saved, use Projects → Render folder / Render selection (above) - no Pro needed.
Offline & install
Lolly is a PWA. After the first load it works offline - install it from your browser's address bar (or Add to Home Screen on mobile) for an app-like, full-screen experience. It updates itself when you're back online.